Friday, 27 June 2014

I'm an ASOS Insider!


I got a lovely surprise this week when I found out I have been selected to be an Asos Insider! The little parcel you receive with some goodies and a handwritten note actually made my week.


This news was perfect timing with it being the Asos sale at the moment. One of the many things I love about Asos are their amazing sales - I put all the lovely clothes I want in my saved items and then literally wait until they have a sale on so I can splurge (I waited for the sale right so I don't have to feel guilty!) So when I was invited to make a wish list of the sale items I'm after to be in with a chance of winning a voucher how could I say no!


What are your best Asos Sale steals?


Tuesday, 18 March 2014

Recipe 52/19 - Mac 'n' Cheese


I spotted this recipe on one of my favourite blogs (http://www.whatoliviadid.com) and although I told myself that Mac n Cheese is a meal that should be enjoyed on a cold, dark winter's evening (not in the first signs of spring..) my cheese craving was just too strong!

Its a meal that had kind of slipped off my radar since childhood, maybe because if it's just the macaroni and a cheese sauce it can be a bit bland... but with the bacon and tomatoes thrown in it just adds that extra yumminess and makes it a bit more grown up somehow. I really forgot quite how good Mac n Cheese is - basic good old comfort food at its best!


Low in cost but high in cheesiness = perfection!

Here's the how to http://www.whatoliviadid.com/2013/09/what-olivia-cooked-mama-ps-mac-n-cheese.html


Tuesday, 4 March 2014

Recipe 52/18 - Five Minute Chocolate Pot


Last weeks recipe was my Valentine's burgers... this week its my Valentine's pudding!

I found this recipe in a Green & Black's Chocolate Tasting Collection (where all the best recipes come from surely?)  - among all the amazingly good chocolate there were several chocolate recipe cards. It was the five minute bit on this one that caught my eye! If you want a super quick, seriously simple yet still deliciously indulgent pudding this is perfect. 

The recipe suggests using expresso cups but I had a cute heart shaped ceramic dish that I wanted to use and it seemed fitting (the chocolate just took a lot longer to set!)

I personally love dark chocolate but if you aren't a fan I'm sure this recipe would work equally well with milk chocolate - I actually compromised with half milk and half dark chocolate as my boyfriend Tom is not a fan! 

You will need:

200g Green & Black's organic dark 85% chocolate (any cooking chocolate will do but I'm sure using G&B's chocolate would have amazing results!)
100ml boiling water
1 tsp vanilla extract
300ml whipping cream


1. Melt the chocolate bars in a microwave or bain-marie, stirring occasionally.
2. Add the water gradually and then the vanilla.
3. Add half the cream and stir until fully blended.
4. Pour into six expresso cups (or similar) and leave in a cool place for at least 45 minutes to set.
5. Just before serving whip the remaining cream and spoon on top of each pot.
6. Grab two spoons and dig in!


The chocolate was heavenly - I wish I had doubled the recipe! Next time I make this I won't bother with the whipped cream on top  though - it was just a distraction from the yummy chocolate which I would have preferred on its own.


Wednesday, 19 February 2014

Recipe 52/17 - Homemade Burgers


So with it being Valentine's Day last week, my boyfriend and I decided that instead of going out for some expensive meal it would be much more fun to stay in and cook our favourite thing - Burgers. It was a no brainer!

I worry that a meal you often eat out will be hard to make from scratch at home but these really weren't! They barely take any time at all, in fact they were so quick to make that we had a sudden rush to get all the buns and extras ready before the burgers went cold. And if you want chips with them make sure you get those in the oven early too - oops!

We didn't have an actual recipe for these, just things we'd picked up from other people and instinct really.

You will need:

rump steak (300-400g makes about 4 burgers depending on how thick you like them) 
seasoning
buns
mayonnaise, onions, cheese, bacon etc.


1. Mince the steak in a food processor (don't over mince it).
2. Season and shape into burgers (I borrowed a burger press off my dad - who knew these existed!)


3. Get a small amount of oil hot in a frying pan and fry burgers for a few minutes each side depending on how rare you like them. Or use a grill if you have one.


4. Prepare buns and toppings.
5. Pop in your burger and voila!


There were a few things that could have been perfected - maybe the burgers were a little over cooked and could have been less thick but hey, practice makes perfect and I am definitely looking forward to making many more of these. The only downside for doing them at home...all that washing up (oh how I dream for a dishwasher!)


Monday, 17 February 2014

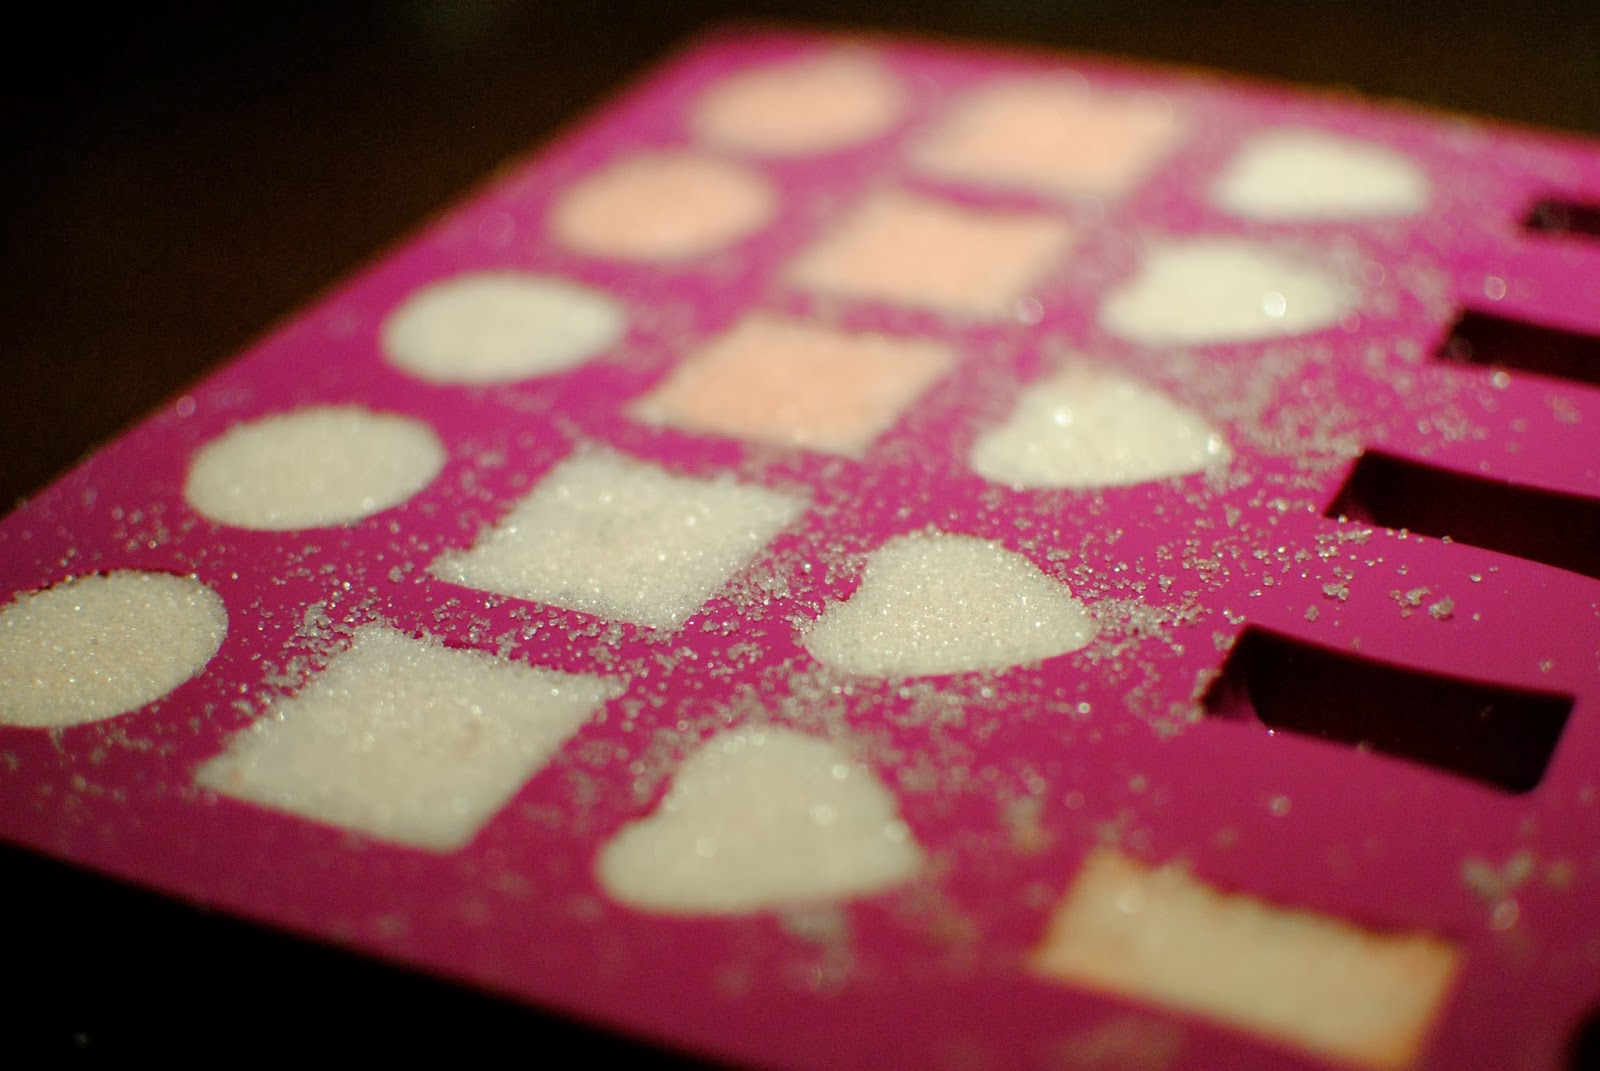
Heart Sugar Shapes


I am a fan of any Kirstie Allsopp crafting program on TV but I'm pretty rubbish at actually trying out any of the things I love on the show (as well as DIY crafts I've pinned on Pinterest!) As someone who spends their days making jewellery and gifts to sell it can be hard to just make something for fun (although everything I make for my business is fun!) and not to try and work out how I'm going to sell it. 

But with Valentines Day last week it seemed like the perfect excuse to make these adorable little sugar cubes. 

These are quick, seriously easy and they look so cute popped into tea and coffee or even just looking pretty in your kitchen. 


You will need:

chocolate mould
250g granulated sugar
1 tsp water
food colouring

1. Measure the sugar into a bowl and add the water.
2. Stir until all the sugar is moistened.
3. Add a tiny bit of colouring onto your finger and dab into the sugar, then stir in. If the colour is not dark enough continue to add small amounts until you are happy with the colour.
4. Heap the sugar into the mould and firmly press it down into the mould.
5. Make sure that the sugar is compact and remove excess sugar from the top of the moulds.
6. Leave it at room temperature overnight in a dry place.
7. Remove from the moulds by either carefully popping them out or placing a plate on top and turning over.


Thursday, 6 February 2014

Recipe 52/16 - Raspberry Blancmange

I don't think this can count as an actual recipe, but I bought a lovely vintage jelly mould last week and I wanted to see something made in it! The obvious choice would be jelly... I did look at some proper jelly making recipes but none of them were what I was looking for and I did think buying jelly cubes and adding boiling water really couldn't be counted as a recipe. 

So what else can you make in a jelly mould? A classic old fashioned Blancmange - even the box looks like it hasn't changed since the 1950s which goes perfectly with my vintage mould. The recipe is extremely basic but as you had to actually measure out a couple of ingredients, and mix and simmer in a saucepan I did feel like I was making something properly.


You will need:

1 pint of milk
2-3 tbsp sugar (I only added 2 and it definitely could have done with 3)
1 sachet of blancmange powder (chocolate, strawberry, raspberry or vanilla)


1. Empty the contents of one sachet into a basin.
2. Add the sugar plus 3 tablespoons of the milk.
3. Mix to a smooth paste.
4. Take the remaining milk and heat in a saucepan until warm.
5. Add a little of the warm milk to the paste, mix, then add the rest and stir well.
6. Return it to the saucepan.
7. Bring to the boil, then stirring continuously, simmer gently for at least a minute.


8. Rinse your mould with cold water (I just put mine in the fridge) and pour in the liquid.
9. Allow to cool to room temperature and pop in the fridge for at least three hours until set (I left it overnight)
10. Serve chilled and eat within two days.


I wasn't sure how, or even if, it would come out of the mould in one piece so I did it very slowly... and it came out beautifully! Then I was too busy admiring it and wobbling the plate to notice that the other side had a little crack in it (maybe I wobbled it a bit too much but it was so cute) that got bigger and bigger until the whole thing collapsed into a big pink mess! Sadly I didn't get a photo of it before it collapsed.


Apparently whole milk gives the best results as semi skimmed milk is too watery to hold it together. It didn't taste too good either but I don't think the appearance made it look too appetising. Oh dear, maybe next time!


Wednesday, 29 January 2014

Recipe 52/15 - Chicken and Spinach

I found this recipe in a fictional book (of all places) - Jane Green's 'The Love Verb' (great book!) had a different recipe every chapter. Mostly vegetarian recipes (nearly all involving spinach) and while a lot of them looked a bit healthy for me some still looked interesting enough to have a go at! Although the one I chose in the end was probably the only one with meat in...


I wasn't too sure about the mix of cream, mayonnaise, curry powder and... greek yoghurt (surely only for breakfast?) but it looked quick and easy to try without much time or effort wasted if it wasn't for me! Plus I needed to have a healthy meal for a change and you can't get much healthier than two packets of spinach right?

I found it best to do the sauce by taste as I didn't want it to taste too yoghurty. Also the more breadcrumbs and curry powder the better - if you've got stale bread to make the breadcrumbs use it! 


You will need:

1 packets frozen chopped spinach, defrosted and liquid squeezed out (I used fresh)
2 chicken breasts (boneless and skinless)

seasoning: (I wouldn't take the measurements too seriously here)

1/2 medium jar mayonnaise
1/2 medium carton greek yoghurt
1/2 small carton single cream
1 tablespoon curry powder
3/4 cup breadcrumbs 

1. Preheat the oven to 175C.
2. Cover the base of a large rectangular dish with the spinach.
3. Season.
4. Place the chicken breasts on top of the spinach and add seasoning.
5. Mix together the mayonnaise, yoghurt and single cream.
6. Add more or less curry powder, according to taste.


7. Spread the mixture liberally on top of the chicken breasts and spinach until all is covered.
8. Sprinkle the top with breadcrumbs and cook for 45 minutes.

Serve with rice or potatoes!


The mayonnaise, curry powder, cream and yoghurt mixture turned out to be delicious (who knew!) and combined with the breadcrumbs, chicken and spinach it made a great meal. Definitely one I will be doing again. 

Saturday, 18 January 2014

Recipe 52/14 - Victoria Sponge Cake with White Chocolate Icing... and Marshmallows

It has become a tradition every year that I make my boyfriend a birthday cake which he takes into work (after I've sneaked a slice for myself of course!)

The first year I made a chocolate on chocolate cake with fudge chunks, second year was the same but it didn't quite live up to the first year! This year I went for something a bit different, vanilla sponge with white chocolate icing and... marshmallows (not my idea, I wish I could take the credit!) Yes, marshmallows in the icing. I can't say they were planned, after making the sponge it just looked like the cake was going to be missing something, and I had to beat my first cake (I appear to be in competition with myself!) Cue a late night visit to the supermarket to look for something as good as fudge chunks, after staring at the cake section for a few minutes without much inspiration I let my boyfriend choose something. He chose mini marshmallows! 

I've never seen marshmallows on a cake before and combined with the sugary sweet white chocolate I was a bit worried about causing some kind of sugar overload in the office. But it was seriously yummy, if I say so myself, and I'm not even a big fan of white chocolate. There was just something about the freshly baked soft sponge combined with the fluffy marshmallows that you couldn't beat!

The victoria sponge recipe is something my mum taught me when I was younger (she used to make it every week - minus the white chocolate and marshmallows) - it's the usual recipe with a few bits that have been added and tweaked over the years.

You will need:

6oz (150g) margarine - make sure its room temperature or warm
6oz (150g) castor sugar
3 eggs
6oz (150g) self raising flour (says sieved but I didn't and it was fine)
1 tsp baking powder (optional)
few drops of vanilla essence 

For the butter icing: 4oz (100g) butter - make sure its room                                                       
                      temperature or warm
                      8oz (200g) icing sugar (again sieved)
                      100g white chocolate (any quantity would be 
                      fine here - I experimented with 30p cooking                  
                      white chocolate instead of the £1.85 
                      belgian chocolate option)
                      few drops of vanilla essence 
                      tub of mini marshmallows

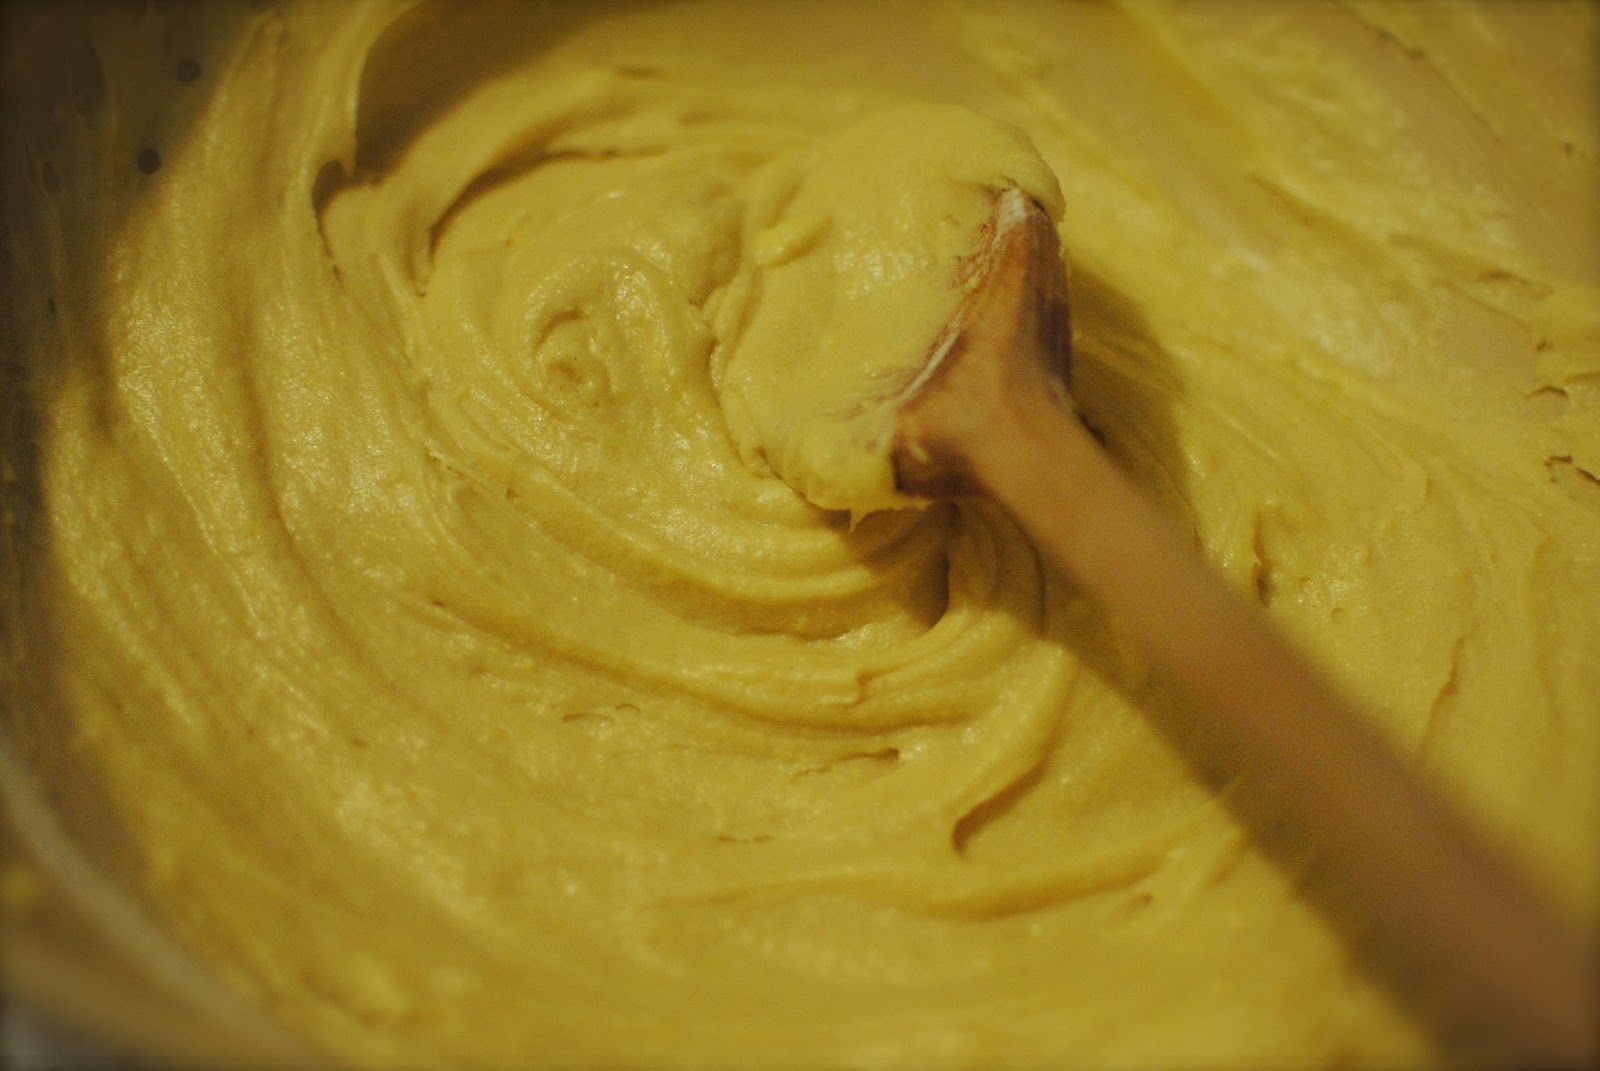
1. Mix the margarine and sugar with a wooden spoon until light and fluffy (it takes a while by hand)
2. Add the eggs one at a time beating to a smooth consistency between each addition (add a tablespoon of flour with the last egg)
3. Add the remaining flour, baking powder and vanilla essence - just long enough to incorporate the flour.


4. Bake in 2x7" sandwich tins, greased and lined, for 20-30 minutes at 190C.
5. Leave to cool on a wire rack.


6. Beat all the ingredients for the icing together until it is soft and fluffy.
7. Add the marshmallows and lightly mix in until they are incorporated into the icing.


8. Ice the cake - the way I've done it did make a lot of icing (it was quite hard to squeeze it all in the middle), you can halve the ingredients for the icing.
9. Sandwich the sponges together.


Any ideas for next year? 

Maybe I'll be brave enough to try making real white cake, Django style!