Wednesday, 19 February 2014

Recipe 52/17 - Homemade Burgers


So with it being Valentine's Day last week, my boyfriend and I decided that instead of going out for some expensive meal it would be much more fun to stay in and cook our favourite thing - Burgers. It was a no brainer!

I worry that a meal you often eat out will be hard to make from scratch at home but these really weren't! They barely take any time at all, in fact they were so quick to make that we had a sudden rush to get all the buns and extras ready before the burgers went cold. And if you want chips with them make sure you get those in the oven early too - oops!

We didn't have an actual recipe for these, just things we'd picked up from other people and instinct really.

You will need:

rump steak (300-400g makes about 4 burgers depending on how thick you like them) 
seasoning
buns
mayonnaise, onions, cheese, bacon etc.


1. Mince the steak in a food processor (don't over mince it).
2. Season and shape into burgers (I borrowed a burger press off my dad - who knew these existed!)


3. Get a small amount of oil hot in a frying pan and fry burgers for a few minutes each side depending on how rare you like them. Or use a grill if you have one.


4. Prepare buns and toppings.
5. Pop in your burger and voila!


There were a few things that could have been perfected - maybe the burgers were a little over cooked and could have been less thick but hey, practice makes perfect and I am definitely looking forward to making many more of these. The only downside for doing them at home...all that washing up (oh how I dream for a dishwasher!)


Monday, 17 February 2014

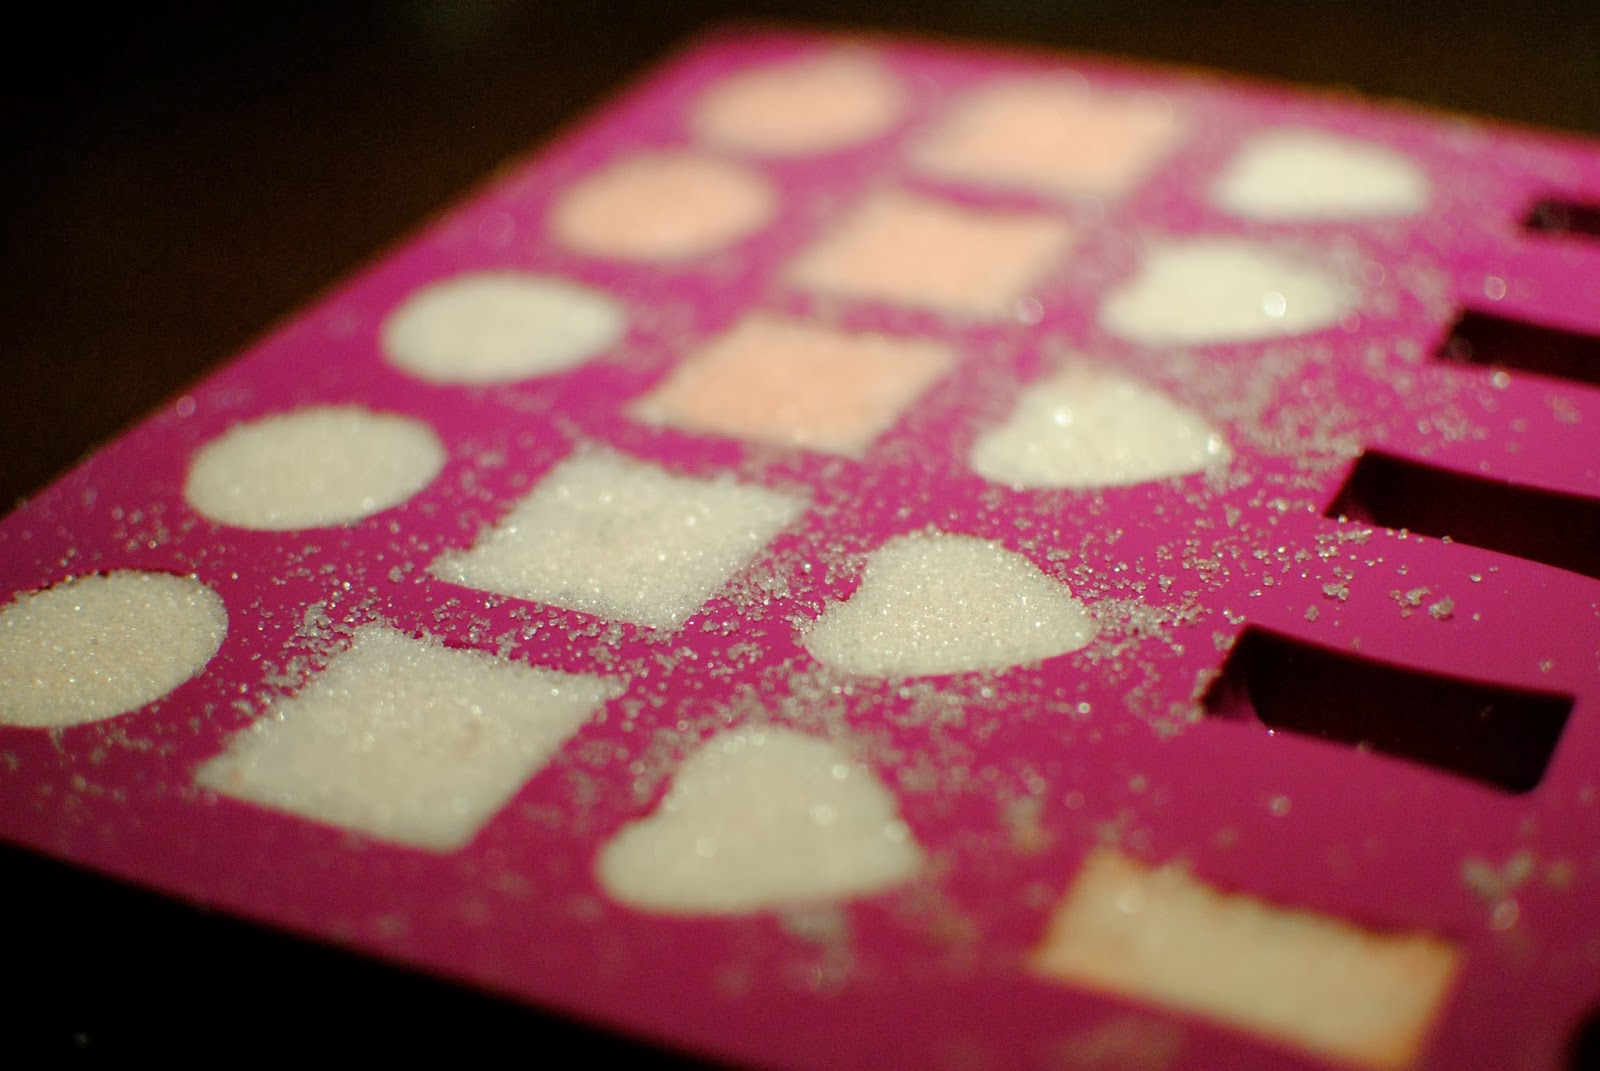
Heart Sugar Shapes


I am a fan of any Kirstie Allsopp crafting program on TV but I'm pretty rubbish at actually trying out any of the things I love on the show (as well as DIY crafts I've pinned on Pinterest!) As someone who spends their days making jewellery and gifts to sell it can be hard to just make something for fun (although everything I make for my business is fun!) and not to try and work out how I'm going to sell it. 

But with Valentines Day last week it seemed like the perfect excuse to make these adorable little sugar cubes. 

These are quick, seriously easy and they look so cute popped into tea and coffee or even just looking pretty in your kitchen. 


You will need:

chocolate mould
250g granulated sugar
1 tsp water
food colouring

1. Measure the sugar into a bowl and add the water.
2. Stir until all the sugar is moistened.
3. Add a tiny bit of colouring onto your finger and dab into the sugar, then stir in. If the colour is not dark enough continue to add small amounts until you are happy with the colour.
4. Heap the sugar into the mould and firmly press it down into the mould.
5. Make sure that the sugar is compact and remove excess sugar from the top of the moulds.
6. Leave it at room temperature overnight in a dry place.
7. Remove from the moulds by either carefully popping them out or placing a plate on top and turning over.


Thursday, 6 February 2014

Recipe 52/16 - Raspberry Blancmange

I don't think this can count as an actual recipe, but I bought a lovely vintage jelly mould last week and I wanted to see something made in it! The obvious choice would be jelly... I did look at some proper jelly making recipes but none of them were what I was looking for and I did think buying jelly cubes and adding boiling water really couldn't be counted as a recipe. 

So what else can you make in a jelly mould? A classic old fashioned Blancmange - even the box looks like it hasn't changed since the 1950s which goes perfectly with my vintage mould. The recipe is extremely basic but as you had to actually measure out a couple of ingredients, and mix and simmer in a saucepan I did feel like I was making something properly.


You will need:

1 pint of milk
2-3 tbsp sugar (I only added 2 and it definitely could have done with 3)
1 sachet of blancmange powder (chocolate, strawberry, raspberry or vanilla)


1. Empty the contents of one sachet into a basin.
2. Add the sugar plus 3 tablespoons of the milk.
3. Mix to a smooth paste.
4. Take the remaining milk and heat in a saucepan until warm.
5. Add a little of the warm milk to the paste, mix, then add the rest and stir well.
6. Return it to the saucepan.
7. Bring to the boil, then stirring continuously, simmer gently for at least a minute.


8. Rinse your mould with cold water (I just put mine in the fridge) and pour in the liquid.
9. Allow to cool to room temperature and pop in the fridge for at least three hours until set (I left it overnight)
10. Serve chilled and eat within two days.


I wasn't sure how, or even if, it would come out of the mould in one piece so I did it very slowly... and it came out beautifully! Then I was too busy admiring it and wobbling the plate to notice that the other side had a little crack in it (maybe I wobbled it a bit too much but it was so cute) that got bigger and bigger until the whole thing collapsed into a big pink mess! Sadly I didn't get a photo of it before it collapsed.


Apparently whole milk gives the best results as semi skimmed milk is too watery to hold it together. It didn't taste too good either but I don't think the appearance made it look too appetising. Oh dear, maybe next time!